

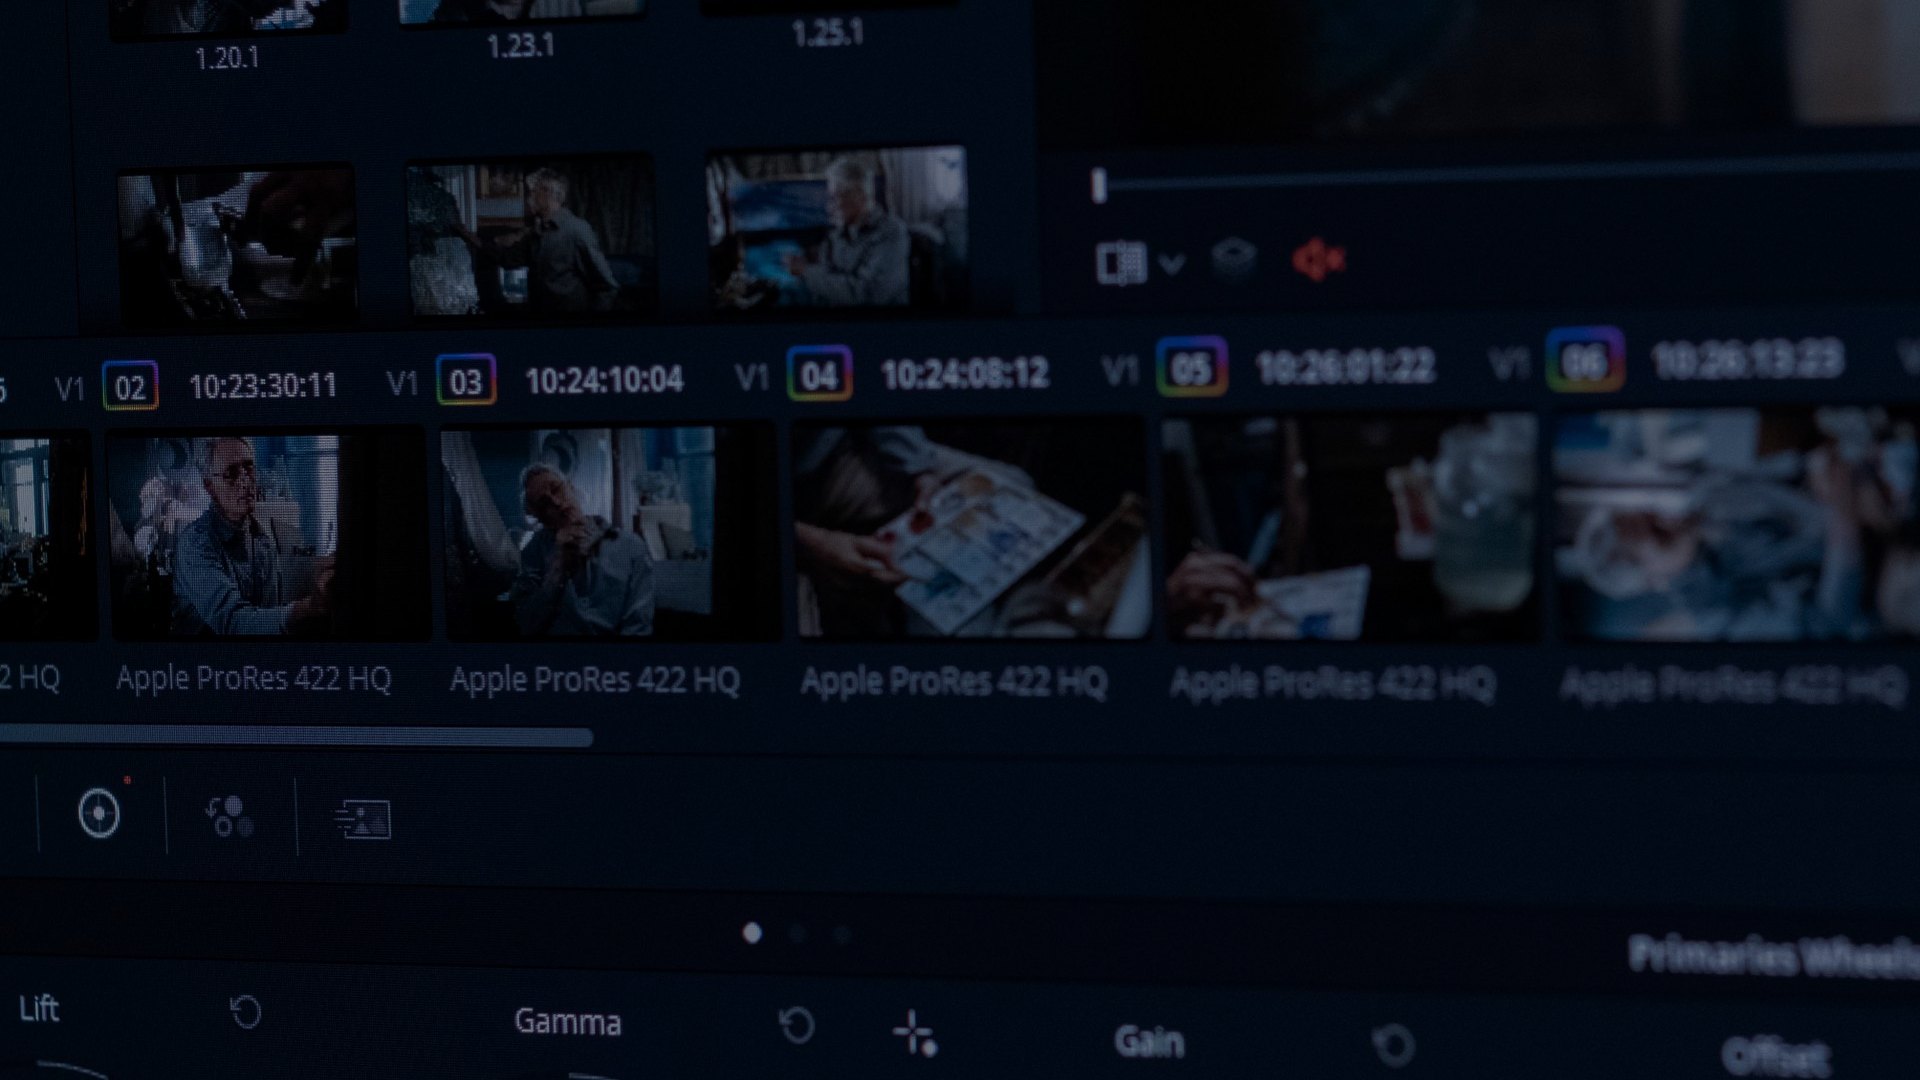
Sound editing is the assembly and creation of the sounds you need; sound mixing is the balancing and placement of those elements to make a single, coherent soundtrack.
What does what and why it matters
• Sound editing is about collecting, creating, cleaning and organising audio elements: dialogue, foley, ambience, whooshes, crowds and designed hits.
• Sound mixing is about balancing, EQing, panning and compressing those elements so they sit together, maintain clarity and meet loudness standards.
• Typical order, and the reason, is editing first, mixing second. Fix timing, remove noise and build the right layers before you start balancing; otherwise you mix problems that still need fixing.
Micro-example, dialogue-heavy scene
If you prioritise clean edits and noise reduction first, you remove breaths, room tone and clicks before automating levels. That means your dialogue track needs less compression and fewer automation passes in the mix. Result: faster delivery, fewer revisions and better intelligibility when the client asks for a quick change.
Micro-example, action scene
For an action sequence, organise SFX into category lanes such as impacts, whooshes and environment. Layer predictable hits first, then add procedural or designed elements for texture. When a mixer opens the session they can quickly adjust impact levels and sidechain to dialogue or music, instead of hunting through dozens of unnamed clips.
Should you edit, mix, or do both?
Choose based on time, budget and client expectations. If you are the only audio person, aim for an editor-level deliverable that reduces rework and makes the mix straightforward.
• Solo indie creator, low budget, quick turnaround: Do both editing and a basic mix. Minimum deliverables are cleaned dialogue, essential SFX layers, a basic balance and a loudness pass to deliver target LUFS.
• Agency short, tight deadline: Edit fully, create organised stems, and deliver a confident temp mix. If a specialist mixer will take over, focus on preparing assets that remove guesswork.
• Delivering to a house mixer or post studio: Hand off organised stems, notes and references. You do the edit but leave the final mix to the mixer.
What to prepare before handing off
• Organised session with clearly labelled tracks and groups. Use consistent naming conventions such as DIALOGUE_V01, FOLEY_FOOTSTEPS, SFX_WHOOSH.
• Cleaned dialogue clips, synced to picture, with markers for ADR needs or timing issues.
• A temp mix or reference video showing intended balance. Include LUFS target, music stems and any creative notes for reverb, perspective or key moments.
If you’re short on time
Prioritise clean dialogue, essential SFX and a temp mix. Quick checklist: de-noise dialogue, arrange key SFX in category lanes, set a simple music ducking automation, and run a loudness normalisation to a common target such as -14 LUFS for online delivery. This gives a client-ready listen and reduces revision cycles.
If you’re sending to a mixer
Minimum assets to include: separate dialogue stems, FX stems grouped by category, music stems, a synced video with a temp mix and a short PDF or text file with timecode notes and loudness target. Label any temp sounds clearly so the mixer knows what to replace or keep.
From rough footage to a deliverable in 6-steps
A numbered workflow you can run through in a day or a few hours for short projects. Use automation and dedicated SFX tools to speed repeatable steps.
1. Gather and sync footage, create a locked picture trim, then export an AAF or XML if you will move to an audio workstation. Keep a picture reference in every audio session.
2. Dialogue prep: sync, clip gain for rough levelling, and quick de-noise. Mark the worst takes for ADR or tighter cleaning.
3. Replace or fill gaps with source foley and in-scene SFX. Where real Foley is missing, use close alternatives that match material and timing.
4. Rapid SFX layer assembly: create category tracks for foley, ambiences, crowds and whooshes. Use library presets or procedural tools to fill gaps fast, and audition variations in context. Keep transient hits on short buses so you can quickly boost or cut groups.
5. Temp mix and reference: set relative levels, apply corrective EQ on dialogue buses and simple compression on music. Export a temp stereo mix for review so picture editors and directors can comment on intent rather than isolated clips.
6. Stems, naming and deliverables: export clean stems mixers expect. Typical exports are Dialogue, Foley, FX, Ambience, Music and Temp Mix. Name them clearly with project code and version, for example PROJ_Dialogue_v01.wav and include a short session notes file with loudness target and any ADR flags.
Step 1, Dialogue and sync
Start with a locked picture point and sync audio to picture. Use manual or automated sync in Premiere or Resolve, then perform quick clip gain levelling so dialogue peaks are reasonable before de-noise. Tidying timing and intelligibility now saves dozens of automation passes later.
Step 4, Rapid SFX layer assembly
Group SFX by function and distance. Create track templates for common categories and drag presets or library hits into place. Procedural whooshes, layered crowds and ambience loops can be generated or stretched to fit, then adjusted for perspective using EQ and reverb sends.
Step 6, Stems, naming and deliverables
Export stems that make a mix predictable. Dialogue, FX, Ambience, Foley and Music should be separate. Deliver unprocessed dialogue as well as a cleaned dialogue stem if possible. Include a short readme with LUFS target, sample rate, bit depth and any take notes.
Speed-first mixing tips and common pitfalls to avoid
Practical checklist to cut hours off small to mid-sized projects, with watchouts to prevent common rework.
• Use track presets and templates so sessions start organised. Save bus routings for dialogue, FX and music.
• Use render cache and pre-rendered clips in Premiere and Resolve to avoid playback drops while you tweak.
• Gain stage properly before plugins to avoid clipping and over-processing. Aim for headroom on buses.
• Use subtractive EQ to prevent masking, and gentle compression to level dialogue rather than squashing dynamics.
• Check mixes with reference tracks and on multiple systems to ensure consistency.
Quick wins
• Snapshots and presets let you recall alternate balances rapidly when clients change direction.
• Route related elements to a bus and process the bus rather than each clip. For example, one reverb send for background ambiences saves CPU and keeps space consistent.
• Use automation lanes for quick ducking between dialogue and music rather than manual clip level edits.
Common pitfalls
• Over-processing early. If dialogue is overly compressed and EQd before balancing, you create artefacts that are hard to remove.
• Poor monitoring. Mixing on a single laptop speaker will bite you during delivery. Check on headphones and at least one set of monitors or earbuds.
• Confusing stem organisation. Mixers hate unnamed clips. If stems are mixed together or mislabelled you increase handback time.
Automation, AI and ethics: what to trust and how to verify
When used responsibly, automation speeds repetitive tasks. Generative audio brings new possibilities but also needs careful verification. Maintain clear boundaries and document when machine assistance is used.
• Automation covers procedural tools, searchable libraries, loudness normalisation and template-driven routing. These accelerate repetitive processes reliably.
• Generative audio attempts to create new material from models. It can be useful for placeholders and experimentation but requires careful checks for artefacts and legal clarity.
Practical verification checklist
• Listen for synthetic artefacts such as re-synthesis warble, unnatural fades or timing slips.
• Check phase and timing against picture. Generated ambience or crowds can drift if not locked to timecode.
• Confirm usage rights. Automation that draws from protected sources may carry rights risks so treat outputs like any library asset.
When automation is useful
Use automation for category creation, repetitive layering, loudness normalisation and batch de-noising. These tasks are deterministic and the output is easy to verify, so you gain speed without compromising craft.
Red flags and checks
If a sound has odd spectral notches, smeared transients or unrealistic room response, investigate. Verify files at full resolution and in multiple listening environments. If the provenance of an asset is unclear, replace it with a known library sound or record a quick alternative.
Try it yourself: if you want to shave hours off SFX assembly, explore templates, presets and procedural sound tools. Krotos offers tools and community resources designed for creators who need fast, usable audio without sacrificing quality. Start a free trial at https://krotos.studio/ and browse community tutorials and preset packs to speed your next edit or handoff.
Frequently asked questions
In what ways does sound mixing differ from sound editing?
Sound editing focuses on creating, collecting and preparing individual sound elements. That includes recording ambience, selecting or designing hits, cleaning dialogue and organising clips on tracks. It is a construction phase where you decide which sounds exist.
Sound mixing takes those prepared elements and blends them into a coherent soundtrack. Mixing is where balance, spatial placement, dynamics and final tonal shaping happen. A mix engineer manages how elements interact so the audience hears a clear story.
What does sound editing mean?
Sound editing means sourcing, creating and arranging the sounds needed for a production. Tasks include trimming clips, removing unwanted noise, consolidating takes, layering foley and designing atmospheres. It is both technical and creative, focused on ensuring the right materials are available for the mix.
A good editor also documents choices, marks problem areas for ADR and organises stems so the mix stage is efficient. Editors reduce ambiguity, making it quicker for mixers to apply polish.
Why is audio mixing so bad now?
Perceived decline in mix quality often comes from compressed timelines, smaller budgets and the expectation that one person will do everything. When editing, mixing and delivery are split across tight schedules, quality suffers because there is less time for careful balancing, client feedback and proper monitoring.
Other causes include over-processing in the edit stage and inconsistent stems. The solution is process discipline: tidy editing, clear stem exports, realistic deadlines and using automation where it saves reliable time. That gets you consistently better mixes without needing an army of specialists.
