
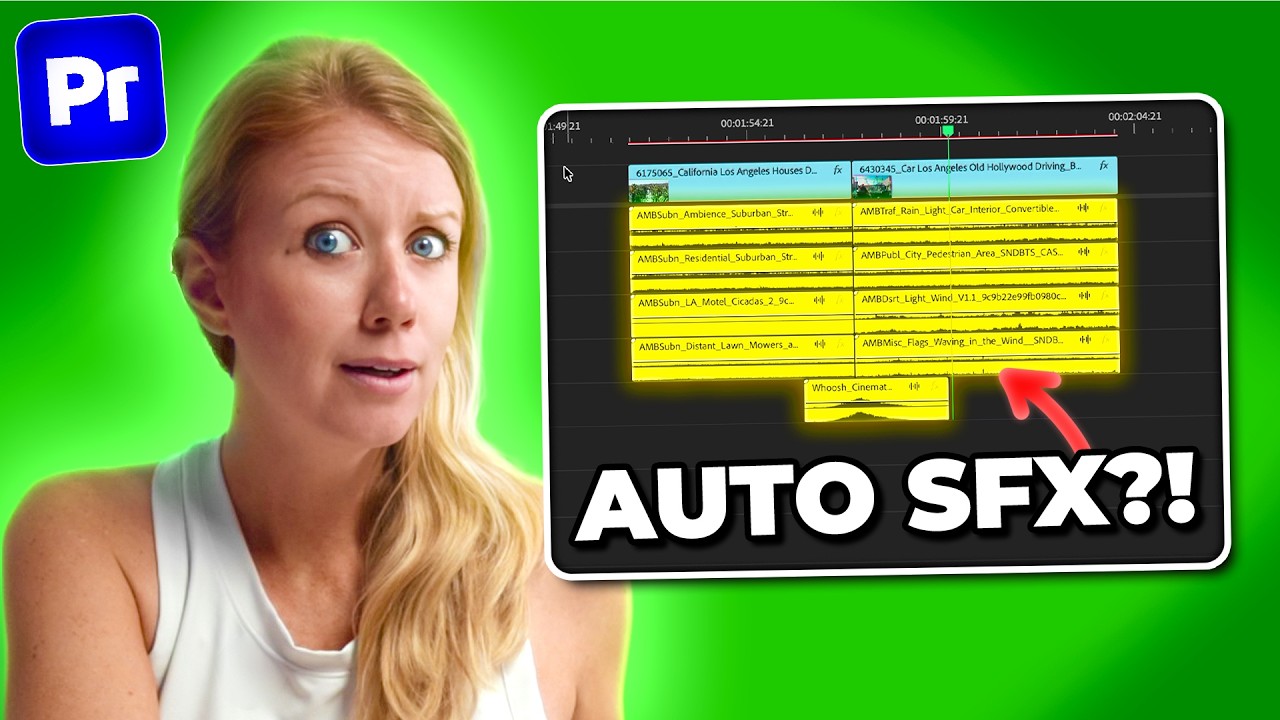
Premiere Gal spent a few hours testing the Krotos Video to Sound panel in Premiere Pro, covering ambience, transitions, cloth sync, sound swapping and the standalone app. Her full video is below, along with what she found at each stage.
Her first question, before she opens the panel, is whether the sounds are AI-generated. They are recordings, made by our sound team and held in a library of over 100,000 effects. Machine learning does the analysis, working out what is happening in your footage and which sounds belong on it. What lands on your timeline is real audio.
Analysing a single clip
She opens the panel through Window, UXP Plugins, Krotos Studio, then docks it like any other Premiere window.
The first test is a single clip. She selects it, presses forward slash to set in and out points, picks ambience, and hits Analyse and Render. The panel reads fire and strong wind in the shot and places four audio files on her timeline. Her verdict on playback is that they sit balanced straight away.
That is the whole loop. Mark the region, choose your elements, render.
Analysing a sequence with transitions
Next she takes three clips from one location and adds whooshes, risers and impacts alongside ambience.
Ambience lands on each clip. Transitions land on the cut points between them. The first two clips share a sound set because they share a location, and the drone shot at the end gets its own, which she notes fits the scene.
Then she shapes it. The close-up was filmed near the water and the next shot is further out, so she trims the wind off the first clip, pitches the water down with a small speed change, and pulls the volume back on the wider shot. All of that is standard Premiere editing, because everything the panel places is an ordinary audio clip on an ordinary track. There is no proprietary container and nothing to re-render.
She describes the result as the skeleton of the sound design, the structure you then shape yourself. That is the intent behind it.
How cloth sync performs
Her cloth test is the one that should interest anyone who has done a Foley pass.
She takes a clip of someone running and another of someone skipping, turns on cloth alongside ambience, renders, then solos the cloth track to hear how it lines up. It tracks the movement in both clips, including the second one she expected it to struggle with.
Cloth is genuinely difficult to place by hand. Getting a garment layer to land on the right frames normally means auditioning a stack of files and nudging each one against the picture. She makes the time saving explicit, and it is the clearest demonstration in the video of what the analysis is doing.
Footsteps and spot effects are in development and will arrive in the panel at no extra cost.
Swapping sounds without changing the sync
When she gets to the river footage, the transitions come back bigger than the scene wants. Peaceful water, cinematic risers.
In the Results tab she selects risers, sets the style to clean and the intensity to soft, and does the same for the impacts and whooshes. New sounds, same placement. The timing of every transition stays exactly where the render put it.
Advanced mode goes further and lets you pick the specific file from the options underneath, then swap it in.
This is what separates a starting point from a lucky first result. If a category is close but you want a different character, you change the character rather than starting the region again.
Performing a sound in the standalone app
Her strongest example is a shot of driving through LA in a car with no roof.
She hits Design, which opens the Krotos Studio standalone app, finds the vehicle sounds, and performs the engine live against the picture using the drive knob until the speed matches what she can see. The performance records as she plays it. She drags the file straight into her Premiere timeline and adds tyre sound from the dry road preset.
That path from automatic to hand-performed is the thing a one-shot generator cannot give you. The panel gets the bed down in seconds. When a moment needs your hands on it, you take the controls and play it.
Her verdict
She lands on the panel as a fast route to a strong starting point, and calls it a time saver for anyone cutting a film across multiple locations. Her point is that the tedious part, finding sounds and placing them, is the part worth automating, which leaves editors free to spend their attention on the sounds that are the actual subject of the shot.
She also flags that the analysis is still in beta and will not always land the intensity on short clips in sequence. Fair, and it is exactly what the Results tab is there for.
Her one feature request is a good one: let Video to Sound analyse an editor's own library and place their own recordings. Anyone who has spent years building a library has a real reason to want that. It is on our radar and her framing of it was useful.
Watch the full test
Her video runs through every main feature of the panel, including the standalone workflow, and she gives an unfiltered read at the end.
Watch the full review on YouTube
Try it on your own timeline
Video to Sound runs inside Premiere Pro through the UXP Plugins panel and is included on the Krotos Studio, Pro and Max plans. Free accounts get 5 analyses, so you can test it on real footage first.
