

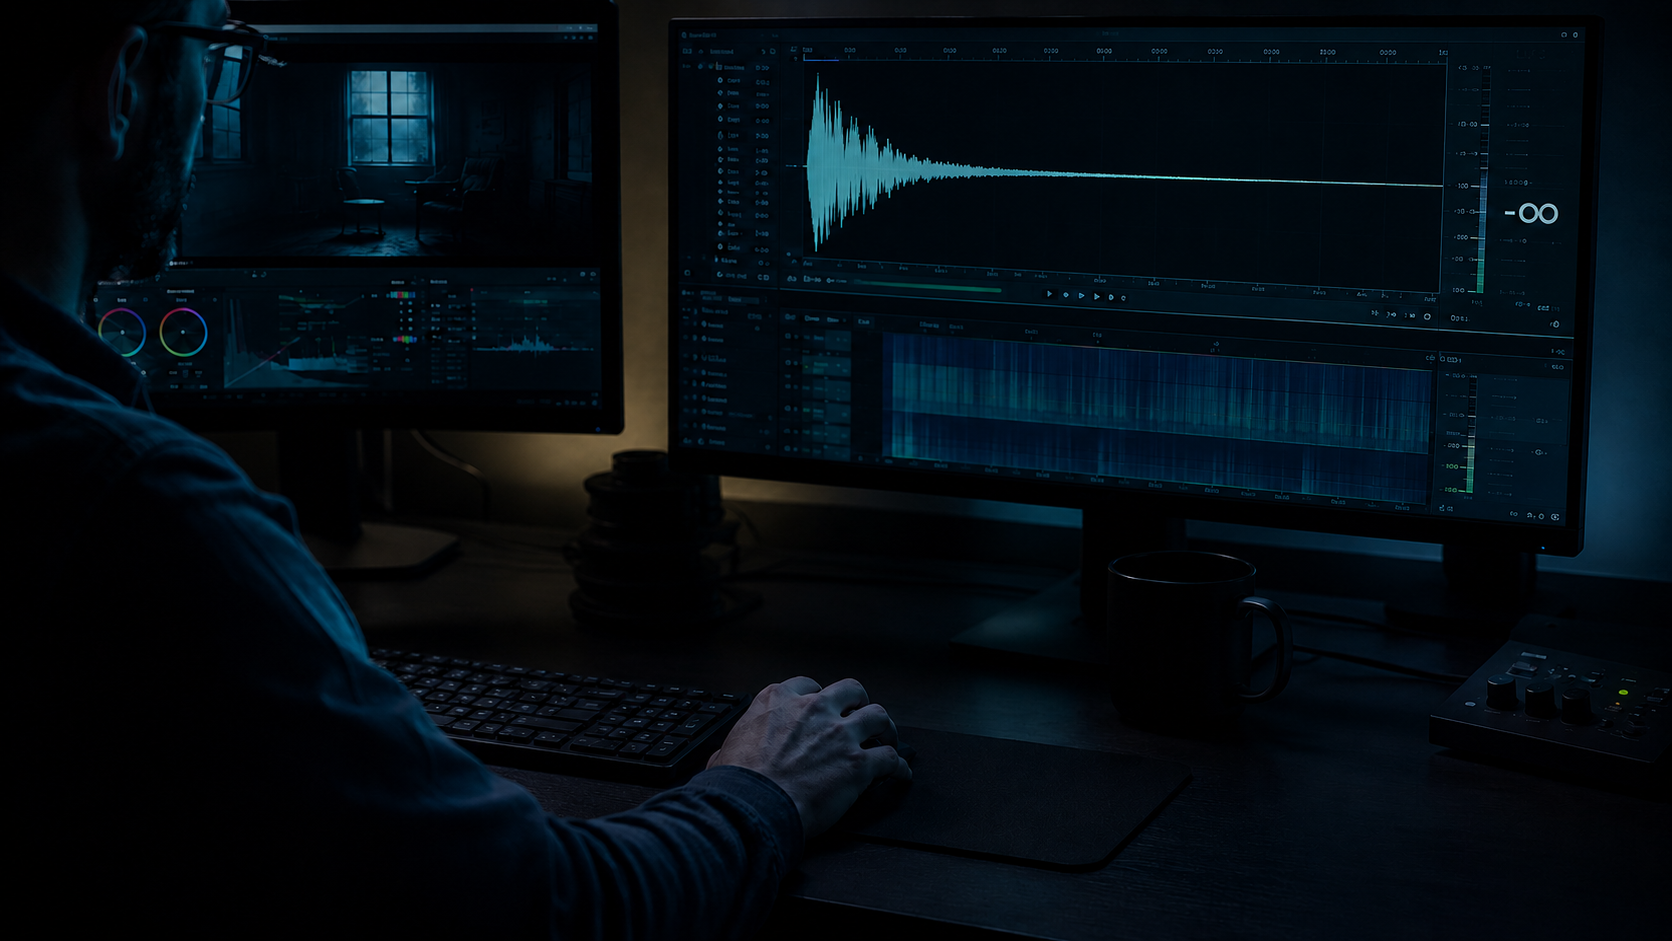
Using no sound in a scene can mean deliberate silence, an extreme reduction of layers, or removing music and SFX to leave only a thin room tone. Editors pick it to sharpen focus, build tension, or make visuals read more clearly. This guide helps video editors, filmmakers and sound designers working in Premiere Pro and DaVinci Resolve make that call fast, implement it cleanly, and hand over a timeline that anyone can pick up later. Expect a quick decision checklist, hands-on DAW steps, creative alternatives to absolute silence, and a delivery-ready checklist to keep clients happy.
When silence helps, and when it hurts
Silence is a storytelling tool, not a default. Use it when visuals do the heavy lifting, or when absence itself creates emotion, contrast or rhythm. Avoid it when spatial cues, cut point readability or dialogue clarity need reinforcement. In Premiere Pro and DaVinci Resolve you can audition silence quickly by muting tracks, soloing dialogue, and toggling a temp music send to hear how the cut behaves without layers.
Storytelling reasons to use silence: focus, contrast and emotional beats. Practical risks: removing ambience can flatten perceived space, make edits feel jumpy, and hide visual edit points that viewers rely on. If a cut loses meaning without sound, or viewers struggle to follow action, silence has likely gone too far.
Rule-of-thumb test
Run these three quick checks in your timeline. If any fail, reconsider silence.
1. Story clarity, yes or no. Can the scene communicate its intent visually without audio cues? If no, add minimal sound.
2. Visual rhythm, yes or no. Do the cuts feel natural when audio is silent, or do they become jarring? If jarring, add subtle tails or rhythmic ambience.
3. Viewer attention, yes or no. Does the silence direct attention to the intended detail, or does it create confusion? If confused, restore a low-level anchor.
Three short examples
• Narrative: A close, silent stare builds tension and forces audience focus on micro expressions, working well if the edit maintains continuity and eye-lines.
• Documentary: Silence after a reveal can be powerful, but if ambient location sound is diagnostic to the scene, removing it risks losing context.
• Commercial: A silent frame before a punchline can heighten impact, however silence that removes brand or product sounds may reduce memorability.
Decision checklist: choose silence, minimal sound or full design
When time is short, use a simple yes/no flow to decide. Each step includes a fast action.
1. Does the scene rely on environmental cues for comprehension?
• Yes: Keep room tone and essential ambience. Action: loop 1 to 3 seconds of location tone at -20 to -30 dB as a base.
• No: Consider silence or minimal sound.
1. Is dialogue or on-screen speech present and important?
• Yes: Keep clean dialogue only, add subtle tails to preserve cut readability. Action: de‑noise, tidy breaths, and add soft reverb tails on cuts.
• No: You can strip layers, but test for spatial loss.
1. Is the edit rhythm tied to music or SFX?
• Yes: Keep markers or temporary cues so the sound team can match later. Action: place markers with notes and a temp music track.
• No: Silence may be viable, but add a sub-audible layer for emotional weight.
1. Do client or delivery specifications require specific stems or temp mixes?
• Yes: Prepare stems even if silent, and label them clearly. Action: export dialogue, ambience and music stems separately.
• No: Still leave clear notes; saves time later.
1. Is this a client-facing temp or the final delivery?
• Temp: Use minimal placeholders and mark everything. Action: add visible track names and a brief README.
• Final: Be conservative. If unsure, choose minimal sound over complete silence.
Fast 60-second audit
Run these five checks in under a minute: narrative clarity, lip-sync or ADR needs, visible cut cues, audience expectation for sound intensity, and delivery specs for stems. If any fail, flag the timeline and apply the relevant action above.
From audit to action
If story clarity fails, restore location ambience and recheck. If rhythm fails, drop in a low-volume rhythmic texture or a soft whoosh on cuts. If client expectations or deliverables are unclear, export a labelled temp mix and a short notes file describing silent sections. If everything passes, lock picture and add a 1 to 3 second room tone loop to each silent region so future editors have context.
Tactical steps in Premiere Pro and DaVinci Resolve
These are quick, actionable steps grouped by intent so you can move fast in either NLE.
Creating clean silence
1. Solo the dialogue or picture tracks to audition the scene.
2. Use clip gain or the Audio Clip Mixer in Premiere to reduce levels, rather than mute, preserving natural tails.
3. In Resolve, switch to Fairlight, select clips and apply Clip Gain or use the De-Noise tool on a low setting to remove unwanted hum while keeping ambience.
4. Apply short crossfades (5 to 20 ms) on cut points to prevent clicks, and add a 1 to 3 second loop of room tone at -30 to -25 dB where silence is intended.
Maintain spatial context
1. Keep a low-frequency bed or room tone on a dedicated track labelled ROOM TONE, with a descriptive marker.
2. Pan or use stereo width sparingly if the scene needs subtle spatial cues, but maintain low level so the silence still reads as intentional.
3. For visual cuts that need audio anchors, add tiny transient hits or whooshes at -40 to -30 dB as placeholders.
Prepare for later SFX replacement
1. Label tracks clearly, for example DIALOGUE, ROOM TONE, TEMP WHOOSH, MARKERS.
2. Place marker notes at each intentional silent region explaining the creative choice and any required future SFX categories, for example "silent for tension, replace with low rumble + breath foley".
3. Export stems: dialogue, ambience, temp SFX and music. Use consistent naming: ProjectName_Version_StemType.wav. Include a short README.txt listing muted sections and intended SFX categories.
Silence with texture: subtle techniques that still carry weight
Silence does not have to be absolute. A tiny amount of texture preserves emotion and spatial information without cluttering the scene.
Sub-audible layers
Use low-frequency rumbles or synth pads under silent scenes to maintain body without distracting from visuals. When to use: night exteriors, emotional close-ups. Implementation: a 30 to 80 Hz sine or sampled rumble at very low gain, high-pass or low-pass to remove unnecessary harmonics, kept under -35 dB.
Filtered ambience and muffled textures
A narrow-band, low-volume room tone keeps space while hinting at environment. When to use: interiors where precise location is not essential but presence is needed. Implementation: take a longer ambience file, apply an EQ shelf to remove highs, reduce level to -30 dB and loop with gentle fades.
Procedural or real-time SFX generators
Rapid-generation tools can produce scratch whooshes, impacts and ambiences when you need intent quickly. Use them as placeholders and validate outputs by listening for edit readability and tonal fit. Regarding AI tooling, prefer non-generative, rule-based or procedural generators that are transparent about sources and processing. If you use tools that employ AI, make a clear note in your delivery about how the sounds were created, and where applicable, include licences or credits. Trust and boundaries matter, and transparency preserves credibility.
Delivery and client-ready checklist for intentional silence
A short checklist keeps stakeholders aligned and future sound passes fast.
1. Mark and name silent regions clearly, with intent notes. Rationale: prevents confusion and unnecessary rewrites.
2. Export stems even if empty or minimal. Rationale: sound designers prefer explicit stems to infer choices.
3. Attach a short README explaining why silence was used and what categories are wanted for later design. Rationale: speeds up SFX passes and avoids endless revision cycles.
4. Timestamp a 30 second reference clip showing the silent moment in context in case reviewers watch outside the timeline. Rationale: clients often skip through projects.
What to include with your export
Include labelled stems (Dialogue, Room Tone, Temp SFX, Music), a README with explicit notes on silent regions, and markers inside the project with quick category tags such as AMB, FOOT, WHOOSH. If you relied on automated or AI-assisted tools for placeholders, add a single-line note about the tool and any licensing or credit requirements.
Talking to clients about silence
Use simple language: "This section is intentionally quiet to focus attention on the actor's expression. We kept a low room tone so the cut reads and to make final SFX easier." When possible, show not tell: play the scene with and without your subtle texture to demonstrate the effect. That visual comparison is the fastest way to get buy-in.
Try Krotos tools for fast, editable placeholders, procedural whooshes and quick ambience creation. Sign up for a trial at https://krotos.studio/ to build sound passes faster, or join their creator community to grab presets, packs and workflow tips that save editing time.
