

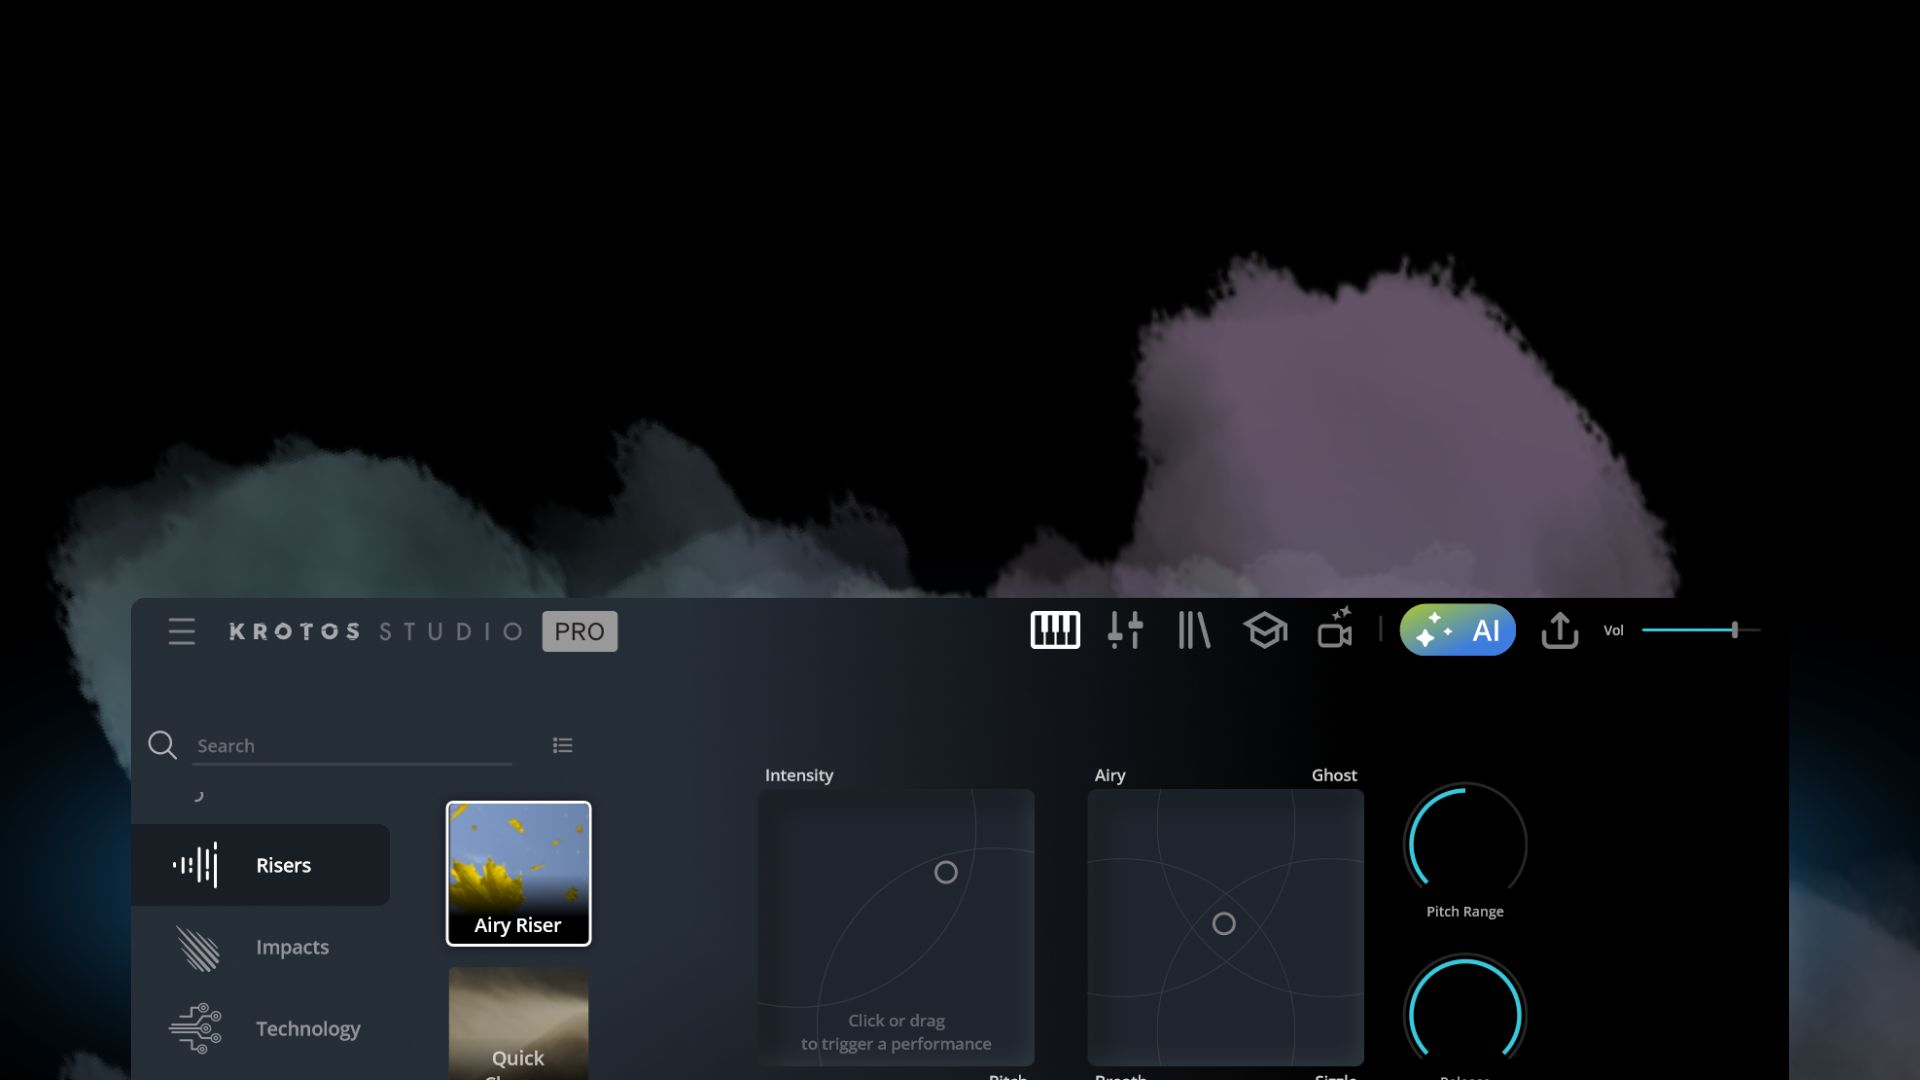
You are short on time, the edit needs a usable SFX bed and your library search just turned up nada. This guide walks you through a fast, repeatable sound design workflow using Krotos Sound Design Pro, with concrete steps you can use inside Adobe Premiere Pro, DaVinci Resolve or a game audio pipeline. Expect practical tips for creating whooshes, footsteps and car ambience, plus export and handoff checks so editors and game teams can drop assets straight into timelines or middleware.
Fast, repeatable workflow: idea to finished SFX
If you want predictable, fast results, treat sound design as a micro project. Think concept, generate, refine, export. Krotos fits as your rapid-creation engine: use it when you need specific categories fast, or when library searches and recording are too slow. Keep recording and bespoke Foley for scenes that demand unique textures or sync that only on-set performance can provide.
Krotos-first means you sketch and iterate quickly inside the plugin or app, then layer and export stems for the edit. DAW or host sessions hold your timeline and reference sync, while Krotos provides the core sound material you can tweak in real time. For large-scale games or long-form projects, combine Krotos-generated assets with field recordings to maintain authenticity.
Step-by-step at a glance
• Plan: Identify the SFX type, duration, mood and sync points from the cut. Keep visual references or timecodes.
• Choose source or preset: Pick a starting preset in Krotos that matches surface, weight or motion.
• Perform and tweak: Play gestures, record takes, and tweak parameters in real time to hit timing and energy.
• Layer: Add body, details and ambience across 2 to 4 layers to avoid thinness.
• Process: Quick EQ, transient shaping, subtle spatial reverb and gentle compression for glue.
• Export: Bounce stems and dry/wet versions at the correct sample rate and bit depth for your project.
When to pick this workflow
Choose the Krotos-first approach when you have tight deadlines, missing library items, or need many variations fast for editorial temping. It is ideal for iterative creative passes where director notes arrive hourly, or when you want lots of usable options to hand to an editor. Fall back to traditional recording and bespoke Foley when the performance must exactly match on-screen action, or when the director requests a recognisably authentic on-set sound that synthesis cannot convincingly replace.
What to prepare before you open Krotos
Good prep saves time. Use closed-back headphones or accurate monitors and a low-latency audio interface to hear details. Set your DAW or editing app to the same sample rate you intend to export, and use at least 24-bit depth for headroom. Keep a project folder with subfolders for sources, presets, takes and exports so you can find everything at speed.
For host integration, check whether you will use Krotos as a standalone tool, a plugin inside your DAW, or as a source for middleware. If working inside Premiere Pro or Resolve, plan to export quick WAV stems from Krotos and import them, or bounce directly from your DAW with matching sample rate and timecode. For game pipelines, prepare naming and stem formats that match FMOD or Wwise conventions.
Project templates and session settings
Create a timeline or session template with the correct sample rate and bit depth, a labelled SFX lane, and a reference track with locked picture. For video projects, 48 kilohertz and 24-bit is the common standard; some game teams choose 48 kilohertz consistently to avoid resampling. Include markers for hit points and a basic processing chain so you can drop assets into the same session layout every time.
Organise source material and presets
Collect reference clips in a single folder and add a short README or timestamp notes about what works. Tag or favourite Krotos presets you like so you can recall them quickly. Create subfolders for categories such as whooshes, footsteps and ambiences. When a director asks for "darker" or "intimate" textures, you will know where to look without starting from scratch.
Worked examples: whoosh, footsteps and car ambience
Below are quick, repeatable recipes you can reproduce with Krotos Sound Design Pro and a basic host. For each example, focus on gesture and layer variety rather than endless rigid editing.
Whoosh (fast motion)
Choose a whoosh preset with a clear transient and flexible pitch/modulation controls. Perform short swept gestures, varying speed and distance to match the edit. Quick modulation tips: automate a high-pass filter to thin the tail for quick cuts, or add gentle pitch bend to suggest Doppler motion.
Processing chain: high-pass at 80 to 120 hertz to remove rumble, a dynamic EQ or transient shaper to accentuate the attack, and a small plate or convolution reverb for depth. Duplicate the main whoosh, pitch one copy down an octave and blur with a long low-pass delay for a sense of scale. Export a full whoosh stem plus a short dry attack for editorial snips.
Footsteps (foley-style)
Pick a footstep preset that matches the weight and material, then perform multiple short takes with slight timing variation. Record separate passes for heel, toe and clothing rustle, or use Krotos layers to simulate these elements. To avoid robotic repetition, randomise micro timing by nudging takes a few milliseconds and vary velocity or pitch subtly between steps.
Layering advice: keep a mid-frequency body layer, a high-frequency scrape for texture and a subtle low thump for weight. Use short gates or transient shaping to tighten hits. For editorial, export a batch of 16 to 24 individual footsteps labelled by surface and weight so editors can splice them to picture.
Car ambience and underscoring
Start with an engine loop preset that matches RPM feel, then add road texture and interior reflections as separate layers. Control stereo width by keeping engine centred and placing road texture wider. For a moving car, automate low-pass and Doppler-style modulation to mimic distance.
Suggested stems: engine loop (dry), road texture (room), interior ambience (wet) and a stitched stem for editorial underscoring. For games, export loopable versions with a short crossfadeable tail and a non-looping impact or transition SFX for cutscenes.
Troubleshooting: common problems and quick fixes
When you run into snags, the fastest path is to diagnose and fix one layer or setting at a time. Typical issues include latency in monitoring, sample-rate mismatch, CPU overload from too many instances, or sonic problems when layers interact.
If layers sound thin or phasey, it is almost always due to overlapping frequency content or exact waveform alignment. Small timing offsets, EQ separation and pitch variance usually solve it. For export or sync issues, ensure your bounce sample rate and bit depth match the target timeline and that fades are rendered cleanly at the region edges.
Audio sync and latency
If you notice playback lag when recording or previewing, check your host buffer size and reduce latency by lowering the buffer while recording takes. If lowering the buffer causes glitches, record with the buffer low, then increase it for mixing. When working in Premiere Pro or Resolve, pre-export reference audio from Krotos and import it to check sync quickly before committing.
As an interim fix for urgent editorial deadlines, render a quick WAV from Krotos and manually align the clip in the editor using the visual waveform and a marker. This bypasses live monitoring latency while delivering the required sound to the cut.
Fixing thin or phasey layers
Offset similar layers by 5 to 20 milliseconds to reduce comb filtering, or nudge them until the transient energy stacks correctly. Use subtractive EQ to carve space for each layer: let low end belong to body layers, mid-high to details. Introduce tiny pitch shifts, stereo position differences, or slight saturation on one layer to increase perceived density without cluttering the spectrum.
Transient shaping can restore attack to flattened hits; a short transient boost on one layer makes it read as the primary impact while other layers fill character. If phasing persists, flip polarity on one take to test for cancellation.
Export and file compatibility issues
Always export at the project sample rate and bit depth. For video projects, 48 kilohertz and 24-bit is standard. Deliver stems as uncompressed WAV files for the cleanest import into Premiere Pro, Resolve or game engines. For looped game assets, provide seamless loop points and label files with loop metadata where possible.
When importing into middleware, test one stem first to confirm pitch and timing. If audio shifts on import, double-check sample-rate settings in both the source export and the target project.
Exporting and handing off sound assets cleanly
Your handoff should make the editor or audio lead's life easier. Provide stems, a dry version, a few wet variations and a short preview mix so editors can audition options without loading plugins. Include a README or simple XML/CSV manifest with file names, descriptions and intended use.
Stick to a consistent, searchable folder structure and naming convention so assets slot into editorial or game pipelines smoothly. For games, label loop points and provide both stereo and mono versions if the engine requires them.
File naming and stems
Use a practical naming structure such as category_variant_take_version, for example: whoosh_swift_left_t01_v01.wav or footsteps_gravel_heavy_r01_v02.wav. Deliver stems that include at least one full mix, a dry stem, a wet stem and any separate elements like scrapes or thumps. Include a normalised low-quality preview WAV for quick browsing if the asset pack is large.
Integration notes for editors and game audio
For Premiere Pro and Resolve, create a short session or bin with the same timeline timecode and drop your exported stems on labelled lanes, adding markers at hits. For FMOD, Wwise or engine import, supply loopable WAVs and a simple mapping document specifying event names, parameters and suggested randomisation ranges. For Unreal or Unity, provide both a flat stem for cutscenes and shorter looping variants for runtime use.
Ready to try it? Where to go next with Krotos
If you want to test the workflow, try a demo or download sample projects and presets to explore how fast you can generate usable SFX. Load a short sequence in Premiere Pro or Resolve, pick three problem spots and create alternatives with Krotos in under an hour. Save your presets and export a small pack to hand to your editor or audio lead.
Krotos also offers a variety of tutorials and example sessions; use them to learn gestural performance techniques and preset customisation. The community often shares presets and tips, which can shave minutes off future tasks and spark ideas for textural layering.
Learning resources and community
Look for official tutorials that walk through specific categories like footsteps and vehicle ambiences, and download example sessions to reverse engineer useful chains. User forums, Discord channels or social groups are great for swapping presets and workflow tips. Share a short demo of what you made, ask for feedback and iterate quickly.
Ethics and trust with assisted tools
When your tools include assisted or AI-driven features, treat them as creative collaborators rather than black boxes. Be clear about what you generated and what you recorded if attribution is required, and respect any third-party content or licensing rules. Krotos tools are assistive, they help you create faster and explore more options, but ethical practice means checking rights and sharing provenance when handing assets to clients or publishing.
Try a free demo, load a sample pack and join the community forums to share what you made. If speed, repeatability and useful presets matter to your workflow, Krotos Sound Design Pro can be a practical shortcut to professional-sounding assets without replacing the craft of bespoke Foley where it counts.
Frequently asked questions
What are sound design?
Sound design is the craft of creating and organising audio elements to support visual storytelling, gameplay or listening experiences. It covers everything from creating footsteps, whooshes and environmental ambiences to sculpting textures, shaping space and timing sounds to picture or interaction events.
Good sound design is both technical and creative: it requires selecting or generating appropriate source material, shaping the sonic character with processing, and placing the sounds in a mix so they complement dialogue and music while supporting the intended emotional or physical impression.
How can editors use sound design in a production workflow?
Editors use sound design to temp soundscapes early in the cut, solve missing production audio, and provide sound beds that enhance pacing and impact. Practically, editors import stems or SFX into Premiere Pro or DaVinci Resolve, drop sounds on dedicated SFX tracks, and use markers to align hits with picture.
For tighter integration, editors can export EDL or XML with timecode references and hand off to sound designers, or create provisional mixes using generated assets for director review. Keeping organised folders, clear naming and short preview mixes speeds collaboration across the production.
What makes sound design sound authentic?
Authenticity comes from matching physical properties and contextual detail. That means correct weight and attack for hits, surface-appropriate textures for footsteps, and environmental cues like reflections and background activity. Small, believable variations in timing, pitch and amplitude are crucial to avoid repetition.
Layering real and generated elements, subtle room reflections, and attention to how sound interacts with camera movement or scene geography all increase perceived authenticity. Trust your ears, and compare against reference clips to judge whether the sound reads as natural.
How can sound design be created quickly without losing quality?
Speed with quality relies on templates, good presets and a repeatable process. Use a small set of trusted presets, perform multiple variations quickly, and apply quick processing chains that consistently deliver polished results. Batch export stems and keep naming rules so assets are immediately usable.
Work in stages: generate core material fast, then add one or two layers for realism. Use keyboard shortcuts, markers and project templates to avoid repetitive setup. Quick quality checks against reference clips will tell you whether you can ship the sound or need a bespoke approach.
What file formats work best for sound design?
Uncompressed WAV is the standard for editorial and game work because it preserves full audio quality and metadata. For video, 48 kilohertz at 24-bit is commonly used. For music or archival assets, 96 kilohertz might be appropriate, but check the project or game pipeline requirements first.
Provide loopable WAVs for game engines and separate stems for dry and wet versions. Avoid compressed lossy formats like MP3 for final delivery unless explicitly requested for preview purposes.
How can Krotos help with sound design?
Krotos provides tools that speed up the creation of sound effects by letting you generate and perform textures in real time, then tweak parameters until they fit the picture. That makes it quicker to get usable SFX for editorial temping, iterative director passes and small-to-medium game projects.
Use Krotos when the library search fails, when you need many variations quickly, or when you want an efficient sketching tool for sound ideas. Combine Krotos-generated assets with field recordings and standard processing to maintain authenticity and deliver polished stems ready for integration.
Try a free demo or download sample packs, join the Krotos community to swap presets and workflows, and see how much faster you can get from concept to finished SFX.
